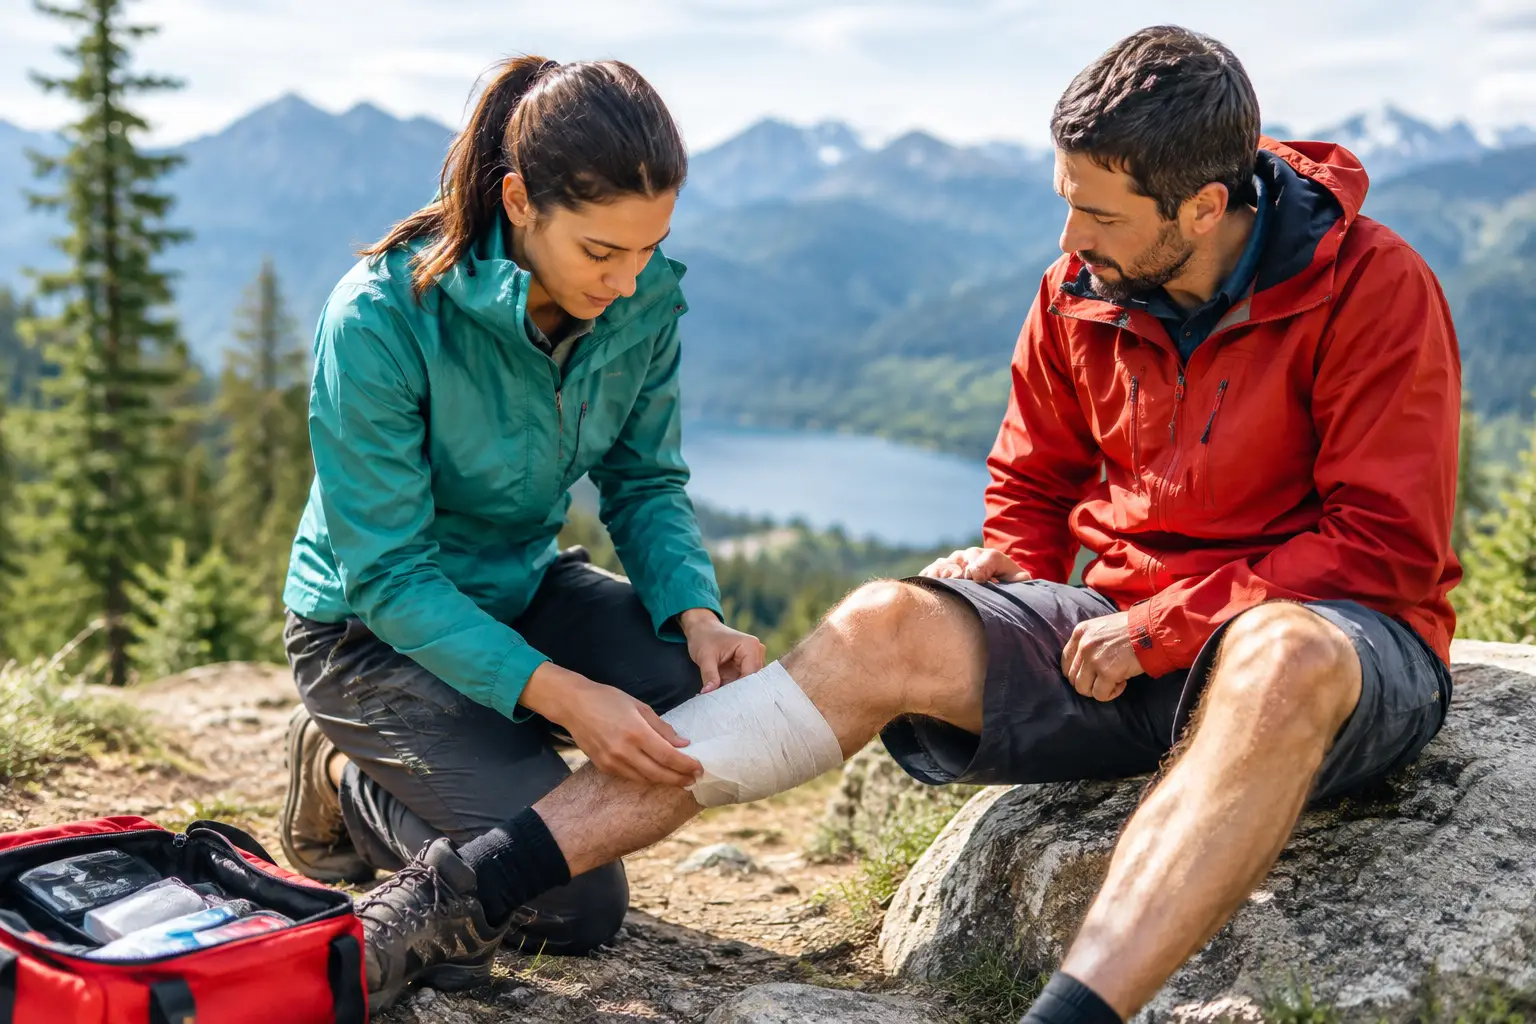
A rolled ankle three miles from the trailhead is different from one in a parking lot. So is a deep cut while processing firewood, a child with heat illness at camp, or a paddling partner who becomes confused after a cold-water swim. This wilderness first aid guide focuses on the field decisions that matter when professional care is not close, cell service is unreliable, and your group still needs to get home safely.
First aid training is the best preparation. A guide can help you organize gear and recognize priorities, but it cannot replace hands-on instruction, local emergency guidance, or medical care. When a condition is serious, worsening, or uncertain, activate emergency help as soon as you can and avoid taking risks that create a second patient.
Start With Scene Safety and a Clear Plan
Before treating an injury, stop and look around. A loose rock slope, lightning, moving water, traffic on a forest road, wildlife, fire, or extreme cold can turn a manageable incident into a larger emergency. Move only if the current location is unsafe. Otherwise, keep the person still, calm, warm or cool as conditions require, and away from hazards.
Then make a quick assessment. Is the person awake and breathing normally? Is there severe bleeding? Is there a suspected neck, back, or major leg injury? Are they showing signs of shock, such as pale or clammy skin, weakness, confusion, or fainting? Address immediate threats first, then gather the details: what happened, when it happened, allergies, medications, medical conditions, and changes in symptoms.
Assign jobs if you are with a group. One person provides care, one stays with the patient, one handles shelter and warmth, and another looks for communication or a safe exit route. Write down the time of the injury, what you observe, and every medication or treatment given. Those details are useful if rescuers take over later.
Control Bleeding Before It Becomes an Evacuation Problem
Bleeding can look dramatic, but steady direct pressure solves many wounds. Use clean gauze or a clean cloth, apply firm pressure directly over the wound, and hold it without repeatedly lifting the material to check. Add more dressing on top if blood soaks through rather than removing the original layer.
For life-threatening bleeding from an arm or leg that does not stop with pressure, use a commercial tourniquet if you are trained and have one. Place it above the wound, not over a joint, tighten until bleeding stops, and record the time. Do not loosen it periodically. Severe bleeding needs urgent emergency care, even when the person appears stable afterward.
Once bleeding is controlled, rinse minor cuts with clean running water or potable water, remove obvious loose debris, cover the wound, and monitor for infection. Do not spend valuable time trying to close a deep or dirty wound in the field. Wounds involving an animal bite, a puncture, a crushed area, exposed tissue, or loss of feeling deserve professional evaluation.
Treat Sprains, Fractures, and Trail Injuries Conservatively
A painful ankle may be a sprain, fracture, or something in between. In the backcountry, the practical question is often whether the person can safely travel. Stop activity, protect the area, and assess circulation, sensation, and movement below the injury. Check again after applying a wrap or splint. Fingers and toes should stay warm, normally colored, and able to feel touch.
For a suspected fracture, severe sprain, or dislocation, immobilize the injury in the position found unless there is no circulation below it or you have advanced training and a clear reason to act. A sleeping pad, trekking poles, tent stakes, layered clothing, and triangular bandages can become a padded splint. Secure it snugly, not tightly.
Do not ask someone to “walk it off” when they cannot bear weight, have obvious deformity, severe swelling, numbness, or escalating pain. A slow assisted exit might work for a mild injury on an easy route. On rough terrain, in bad weather, or far from help, attempting to hike out can make tissue damage worse and expose the group to a night outside. That is when a communication device, shelter, insulation, and a rescue plan become essential gear rather than extras.
Manage Heat, Cold, and Weather Exposure Early
Weather injuries often begin quietly. Heat exhaustion may show up as heavy sweating, headache, dizziness, nausea, cramps, fatigue, or poor coordination. Stop exertion, get the person into shade, loosen excess clothing, cool them with water and airflow, and offer fluids with electrolytes if they are awake and not vomiting.
Confusion, collapse, seizure, or hot skin can signal heat stroke, a life-threatening emergency. Begin active cooling immediately while arranging emergency response. Cool water, wet clothing, fanning, and cold packs placed at the neck, armpits, and groin can help while you wait. Do not force fluids on someone with altered mental status.
Cold exposure requires the same early action. Replace wet layers, block wind, insulate the person from the ground, add dry clothing and a sleeping bag, and give warm, sweet drinks only if they are alert and able to swallow. Shivering is an early warning. Confusion, clumsiness, slurred speech, or a person who stops shivering in the cold are serious signs that call for urgent evacuation.
Lightning changes the plan for everyone. Leave ridgelines, peaks, open water, isolated tall trees, and exposed meadows. Spread the group out enough that one strike does not injure everyone, but maintain visual contact. A tent is not reliable lightning protection. A fully enclosed hard-top vehicle is the better shelter when available.
A Wilderness First Aid Guide Needs an Evacuation Threshold
The hardest call is often not treatment. It is deciding whether to continue, turn around, self-evacuate, or request rescue. Make that decision early, while everyone has energy, daylight, and options.
Request emergency assistance for trouble breathing, chest pain, uncontrolled bleeding, altered mental status, suspected spinal injury, severe allergic reaction, serious burn, seizure, signs of heat stroke, severe hypothermia, major trauma, or an injury that prevents safe travel. Also factor in distance, terrain, weather, group skill, food and water, and available communication. A stable person can become unstable after sunset or during a storm.
For less urgent situations, choose the safest realistic exit. Shortening the route, resting at a known shelter, or sending two capable people for help may be reasonable depending on conditions. Never send a solo runner without a plan, navigation tools, light, insulation, and clear instructions. Keep the patient supervised and protect them from heat loss, dehydration, and further injury.
Build a Kit Around Your Trip, Not a Generic Checklist
A day hike near town does not require the same first aid setup as a four-day backpacking route or a vehicle-based hunting camp. Pack for the group size, remoteness, season, medical needs, and activities. Your kit should be organized so supplies are accessible in poor light and bad weather, not buried under cookware or spare socks.
For most trips, carry wound dressings, gauze, adhesive bandages, tape, blister care, elastic wrap, irrigation supplies, gloves, a triangular bandage, trauma shears, a thermometer, and any personal medications. Add a commercial tourniquet and hemostatic gauze if you have training to use them. An emergency blanket can help, but a real shelter, dry insulating layers, and a sleeping bag offer more dependable protection during a long delay.
Medication choices depend on the individual and should follow package directions and guidance from a clinician or pharmacist. Keep medicines clearly labeled, protect them from moisture, and know who carries prescriptions such as inhalers, epinephrine auto-injectors, or diabetes supplies. A first aid kit is only useful when the group knows where it is and how to use what is inside.
NorthWest Trail Co customers often build complete systems for the trail and campsite. Pair your first aid supplies with a reliable light, navigation backup, water treatment, weather-ready shelter, and an emergency communication plan. Those pieces give you more room to make calm decisions when an injury changes the day.
Practice Before the Trip Counts
Open your kit at home. Practice locating gloves, gauze, a splinting material, and your communication device without searching. Review the route, nearest access points, weather forecast, water sources, and turnaround time with your group. Tell someone who is not on the trip where you are going and when to expect you back.
The goal is not to carry a medical clinic into the woods. It is to prevent small problems from growing, recognize true emergencies quickly, and have enough shelter, skills, and communication to make the safest next move when the trail does not go as planned.
