A wet sleeping bag at 2 a.m. is usually not bad luck. Tent leak causes are often predictable: a poor campsite, worn waterproof coatings, an exposed zipper, or condensation mistaken for rainwater. The good news is that most problems can be identified before the next storm - and many can be handled with a few simple repairs and better setup habits.
Tent Leak Causes Start With the Campsite
The ground under your tent matters as much as the tent itself. Even a fully waterproof floor can leave you wet if water pools beneath it, runs under the edges, or seeps through where the floor is under constant pressure.
Avoid low spots, dry creek beds, the base of a slope, and areas where the soil is already soft or saturated. Look for slightly raised, level ground with natural drainage away from the shelter. A site can look flat in daylight but reveal a subtle downhill flow once rain starts.
Your footprint also matters. It should match the tent floor closely and should not extend past the walls. A footprint sticking out beyond the tent collects rain and channels it under the floor, effectively creating a shallow basin beneath your sleeping area. Tuck in any exposed edge before staking down the tent.
Do not dig trenches around a tent at established campgrounds or in the backcountry. It damages the site and is usually unnecessary when you choose proper ground and pitch the shelter correctly.
Worn Waterproof Coatings and Seams
Most tent fabrics depend on more than the fabric itself to block water. The rainfly may use a durable water-repellent finish to shed rain, while its interior waterproof coating stops water from passing through. Tent floors are typically coated as well, often with a heavier waterproof layer because they face ground moisture and pressure from pads, gear, and campers.
Over time, coatings can degrade. Common signs include a rainfly that looks dull or feels tacky, a floor that has a sticky surface, flaking material, or fabric that wets out quickly instead of beading water. Strong sun, prolonged heat, insect repellent, harsh cleaners, and storing a tent damp can all shorten the life of these coatings.
Seam tape can fail too. Check the inside seams of the fly, bathtub floor, corners, vents, and attachment points. If tape is lifting, curling, cracked, or missing, water can enter through needle holes during a sustained rain.
A seam sealer is the right repair for leaking seams, but choose one made for your tent fabric and coating type. Silicone-treated fabrics require a silicone-compatible sealer. Polyurethane-coated fabrics use a different formula. Applying the wrong product can prevent it from bonding correctly.
For a worn rainfly, cleaning it gently and applying a compatible water-repellent treatment may restore water shedding. If the waterproof coating on the inside has broken down, a coating repair product may help. Severe peeling, stickiness, or widespread deterioration can mean the fly or tent has reached the point where replacement is more reliable than repair.
A Quick Test Before a Trip
Set the tent up at home and inspect it in daylight. Spray the fly with a hose, starting gently and then simulating a steady rain. Check inside the tent after several minutes, especially around seams, vents, and corners. This test will not perfectly recreate wind-driven rain, but it catches many obvious failures before you are miles from the trailhead.
Rainfly Setup Errors Let Water In
A rainfly only works when it is positioned and tensioned correctly. If it is loose, sagging, or touching the inner tent body, rain can transfer through the fabric by contact. That is especially common with single-wall shelters, but it can also happen when a double-wall tent has a poorly pitched fly.
Stake out the tent body first, then attach the fly and use its guy-out points. Tighten each point evenly until the fly is firm but not overstressed. After a few minutes, revisit the tension. Fabric often relaxes after initial setup, particularly in humid weather.
Make sure every door, vent cover, and vestibule is oriented correctly. A partially secured vestibule zipper or an unfastened storm flap can admit more water than a small damaged seam. Wind can drive rain upward and sideways, so do not assume a covered opening is protected if it is facing directly into the weather.
If a forecast calls for heavy rain, place the lowest and most protected end of the tent toward the prevailing wind when your site allows it. Use all recommended stakes and guylines. Skipping guylines may save a minute at camp, but it can leave the fly sagging against the inner wall during the storm that matters.
Condensation Is Not Always a Leak
Many campers find wet tent walls and assume the fabric failed. Often, the water came from inside. Every person in a tent releases moisture through breathing and perspiration. Wet boots, damp clothing, cooking steam, and humid air add more. When warm, moist air hits a cooler tent wall, it condenses into droplets.
Condensation can be heavy enough to drip from the ceiling or run down the walls. If a sleeping bag brushes against that wet wall, it may become damp and look exactly like it was soaked by a leak.
Improve ventilation before sealing every opening against the weather. Open protected vents, keep the rainfly vents clear, and leave a small gap at a covered door or vestibule when conditions permit. Store wet items under the vestibule rather than inside the sleeping area. In a double-wall tent, keep the inner body from touching the fly.
There is a trade-off in cold, wet conditions: more airflow can feel chilly. Still, a little controlled ventilation is usually better than trapping moisture inside all night. Use the right sleeping bag and insulating pad for the temperature rather than relying on a sealed-up tent to provide warmth.
Damage at Zippers, Windows, and Attachment Points
Small holes and weak points often hide in high-stress areas. Inspect zipper tracks, mesh-to-fabric seams, pole sleeves, guy-out loops, and the spots where elastic or webbing attaches to the tent. A missing zipper flap, torn mesh panel, or pulled seam may not leak during a light shower but can fail in wind-driven rain.
Tent windows and roof vents deserve a close look. Their covers must overlap correctly, and their seams need to remain sealed. On older tents, hook-and-loop closures can fill with dirt and stop holding, leaving a vent cover partly open in rain.
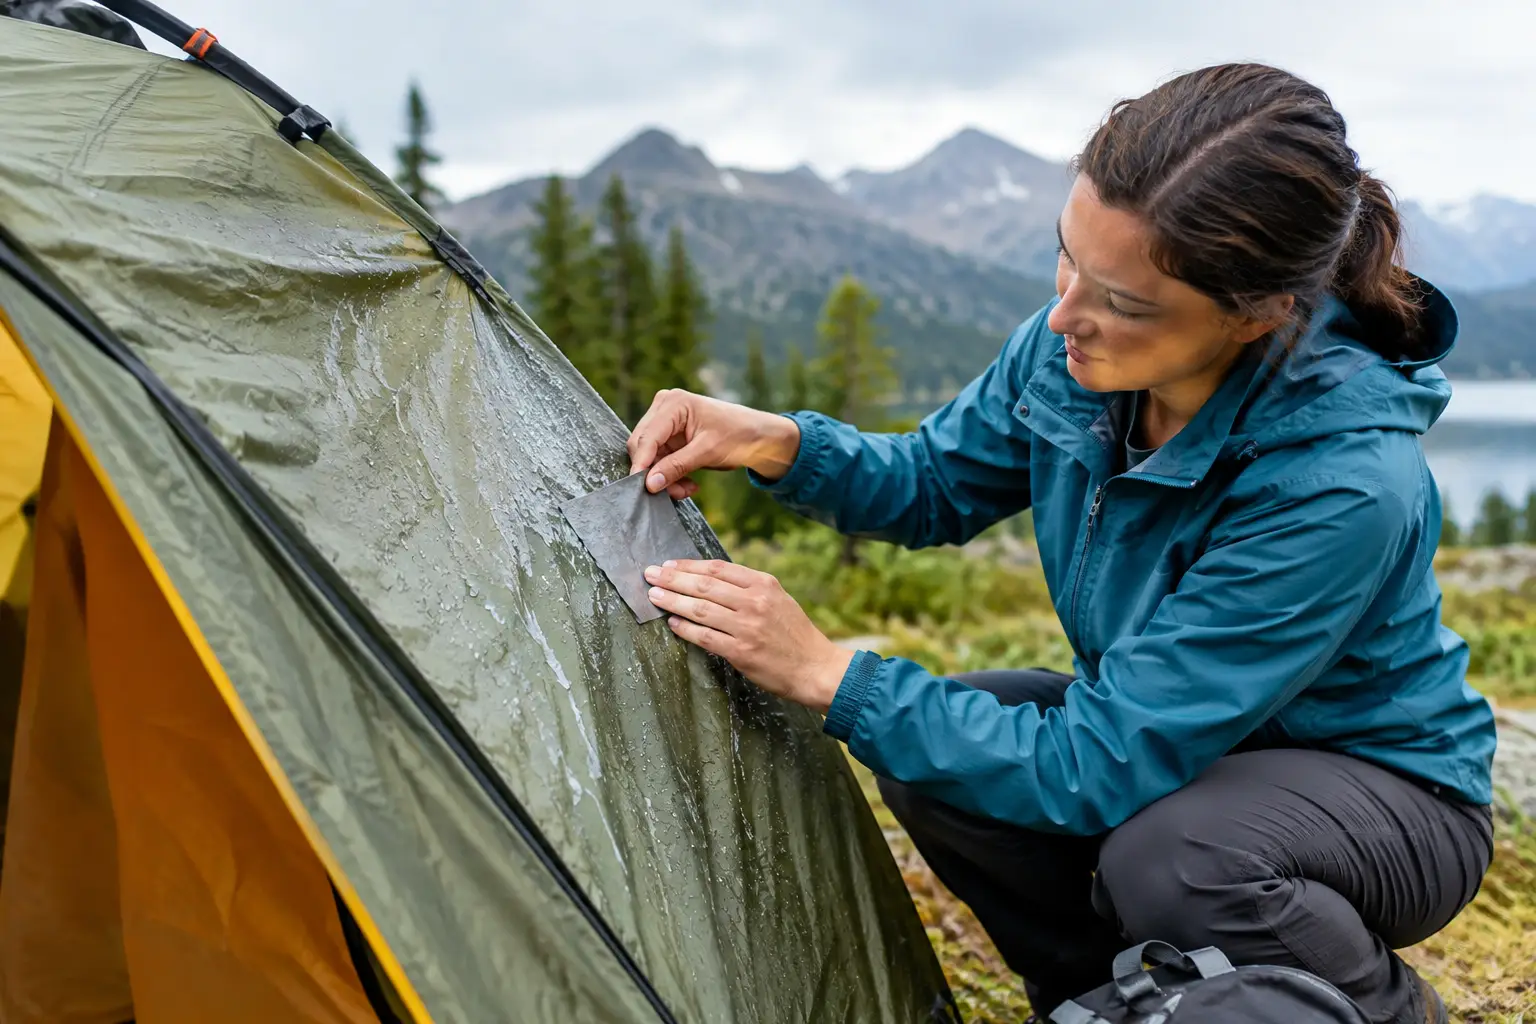
Carry a field repair kit sized for your trip. At minimum, include compatible repair patches, seam sealer, a small length of repair tape, spare cord, and a few extra stakes. Patches work best on clean, dry fabric, so dry the area as much as possible before applying one. A temporary patch may get you through the weekend, but inspect and reinforce the repair at home.
What to Do When Your Tent Leaks at Camp
First, locate the water source. Feel the tent wall, floor, seams, and ceiling rather than guessing. If water is running under the tent, move gear away from the edges, place dry items in waterproof bags, and improve drainage only through site-safe adjustments such as repositioning gear and ensuring the footprint is tucked in.
If rain is entering through a loose fly or open vestibule, retension the shelter and secure all closures. If condensation is the problem, increase protected ventilation and keep sleeping gear off the walls. For a small puncture, dry the spot, apply a patch, and cover the inside and outside if your repair material allows it.
Never touch the inside of the rainfly unnecessarily during a storm. Pressing against a wet fly can encourage moisture transfer through the fabric, especially if its water-repellent finish is worn.
Keep Your Shelter Ready for the Next Storm
The most reliable prevention happens after the trip. Dry your tent completely before storing it, including the fly, floor, poles, and stuff sack. Store it loosely in a cool, dry place when possible instead of leaving it compressed for months in a vehicle or hot garage.
Before each season, inspect seams, coatings, zippers, and guyline tensioners. Replace bent stakes and damaged cord before they become a setup problem in bad weather. A well-pitched tent, the right footprint, and a maintained rainfly do more for a dry night than any last-minute fix.
NorthWest Trail Co is built for practical trail-life preparation, and shelter is one place where a little prevention pays off fast. Check your tent before the forecast turns, pack a small repair kit, and choose your campsite with the same care you use when choosing the trail.
