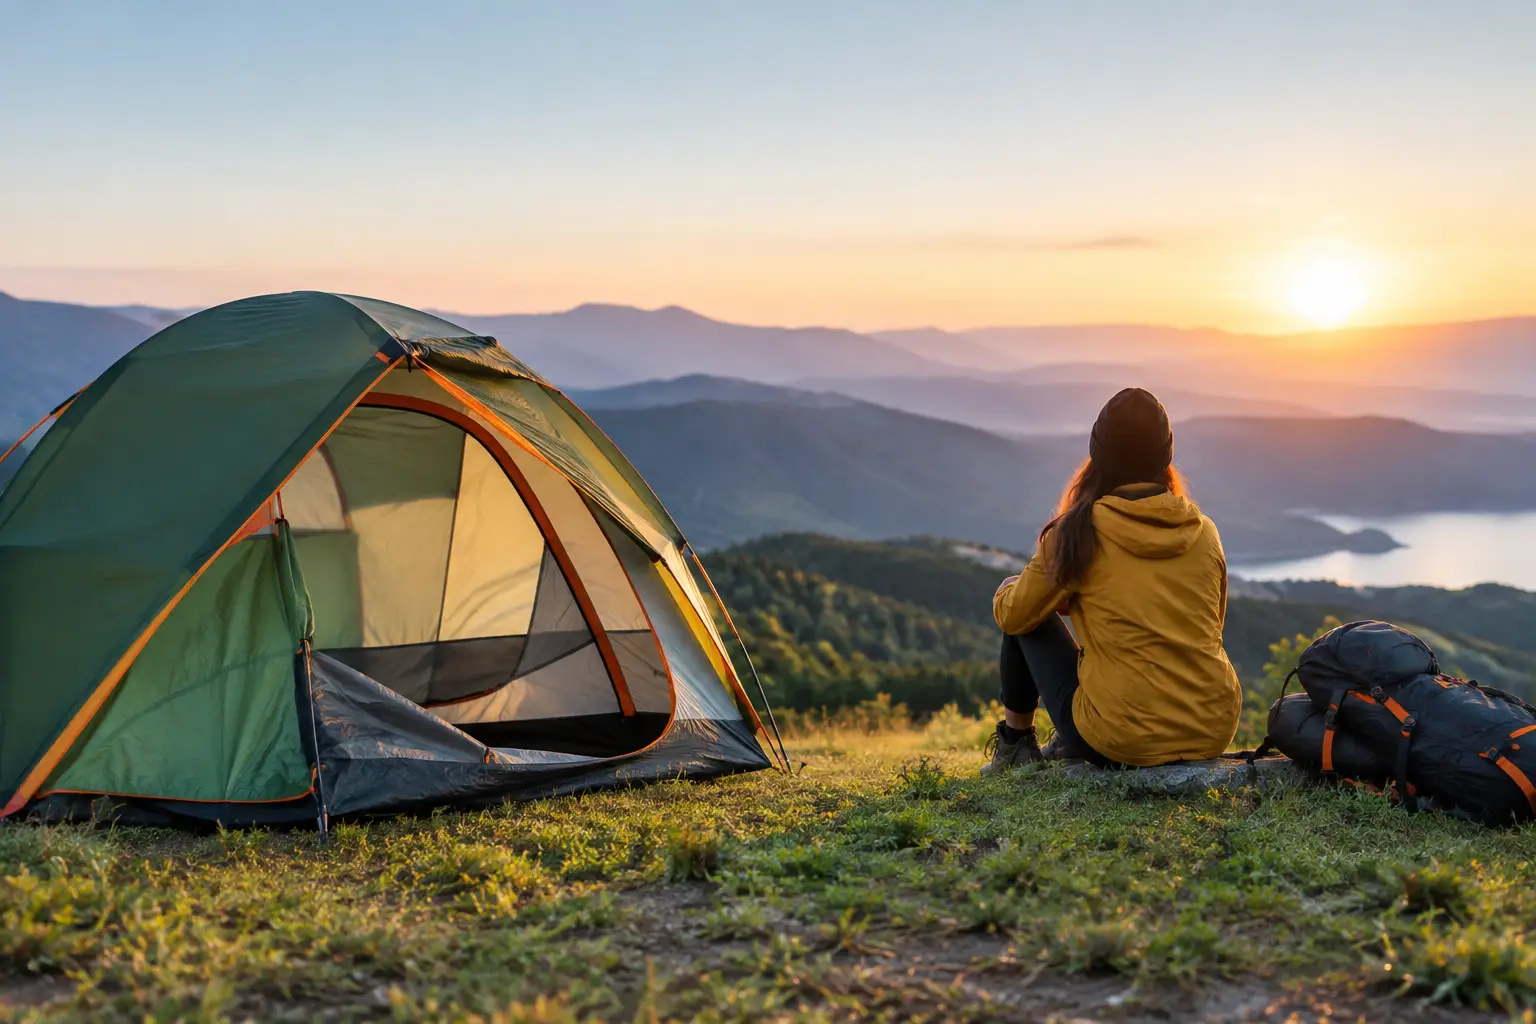
A tent that looks roomy in a product photo can feel very different after two adults, two sleeping pads, a cooler, and wet boots arrive at camp. Learning how to choose a camping tent starts with an honest look at where you camp, who sleeps inside, how you travel, and what weather you expect. The right shelter is not always the lightest, largest, or most feature-packed option. It is the one that handles your real trip without taking up more space, weight, or budget than necessary.
Start With the Kind of Camping You Actually Do
Before comparing person counts, poles, and waterproof ratings, define the trip. A tent for a developed campground has different priorities than one carried five miles into the backcountry. Car campers can favor standing room, a large vestibule, and extra interior space. Backpackers need a compact packed size and a weight that makes sense for the distance and elevation ahead.
Family campers should also think beyond the sleeping area. Kids, dogs, changing clothes, and rainy-day downtime all demand room. If you use a truck-bed air mattress or sleep near your vehicle, a larger tent may be a practical comfort upgrade. If your campsite is reached on foot, every extra pound becomes a decision you will notice on the trail.
Your usual destinations matter just as much. Warm, dry summer weekends call for ventilation and easy setup. Mountain weather, shoulder-season travel, coastal wind, and frequent rain call for stronger poles, a full-coverage rainfly, and better site selection. Buy for the conditions you are most likely to face, not the one perfect forecast.
How to Choose a Camping Tent by Capacity
Tent capacity is based on sleeping positions, not personal space. A two-person tent generally fits two average sleeping pads placed side by side. It may not have room for wide pads, backpacks, a dog, or a comfortable place to change clothes. For many campers, choosing one size larger than the number of sleepers is the simplest way to improve comfort.
A couple using standard-width pads may be happy in a three-person tent, especially on rainy trips. Two adults and one child often do better in a four-person model. For families, consider whether everyone will sleep in one shared tent or whether a second tent gives teenagers, gear, or a pet more usable space.
Check the floor dimensions instead of relying only on the label. Measure the width of your sleeping pads and add them together. Then consider the tent length if anyone is tall. Sloped walls can reduce usable head and foot room, so a long floor does not always mean a long sleeping area.
Peak height matters for car camping. A low-profile tent is efficient in wind and packs smaller, but it can turn getting dressed into a crouching exercise. Cabin-style tents with near-vertical walls offer more livable space, while dome tents usually shed wind and rain more effectively. Neither style is automatically better. Match it to your campsite, travel method, and tolerance for close quarters.
Choose the Right Season Rating and Weather Protection
Most campers need a three-season tent. These are designed for spring, summer, and fall conditions, with mesh panels for airflow and a rainfly for wet weather. A well-built three-season tent handles ordinary rain and cool nights when it is properly pitched, staked, and paired with the right sleeping system.
Two-season or warm-weather tents prioritize airflow and may use more mesh with less rainfly coverage. They can work well for fair-weather summer camping, but they offer less protection when wind-driven rain moves in. If your plans are flexible and forecasts are stable, this trade-off can be worthwhile. If you camp where conditions change quickly, a three-season shelter is the more dependable choice.
Four-season tents are built for snow loads, high winds, and winter conditions. Their sturdier pole structures and reduced mesh help retain warmth and resist severe weather, but they can feel stuffy and overly warm in summer. A four-season rating does not replace cold-weather skills, insulated sleeping gear, or sound judgment about storms.
Look closely at the rainfly. A full-coverage fly extends close to the ground and provides stronger protection from rain and wind than a partial fly. Taped seams, a bathtub-style floor that rises up the sides, and a waterproof floor fabric all help keep groundwater out. A footprint can protect the tent floor from abrasion and moisture, but it should fit under the floor rather than extend beyond it. An exposed footprint can collect rainwater and direct it beneath your tent.
No tent is fully waterproof if it is pitched in the wrong place. Avoid low spots, dry creek beds, and areas where runoff will collect. Face doors away from prevailing wind when possible, tension the rainfly, and stake out every required point before the weather turns.
Balance Weight, Packed Size, and Durability
For backpacking, compare both packed weight and trail weight. Packed weight often includes everything that comes in the bag: tent body, fly, poles, stakes, guylines, and repair items. Trail weight may exclude stakes, bags, or other components. Read what each manufacturer includes before making an apples-to-apples comparison.
A lighter tent can make long miles more manageable, but ultralight materials often require more careful handling. Thin floor fabrics are vulnerable to sharp rocks, sticks, and abrasive ground. Lightweight poles and clips may also demand more attention during setup. For occasional weekend trips, a slightly heavier tent with durable materials and straightforward construction can be the better value.
Car campers have more freedom to choose durable, spacious designs, but packed size still matters. Make sure the tent fits alongside coolers, camp chairs, cooking gear, lighting, and other essentials in your vehicle. If you overland or travel with a smaller SUV, a compact tent bag can save valuable cargo room.
Pay Attention to Doors, Vestibules, and Ventilation
Small features have a major effect on how a tent works at camp. Two doors make a big difference for two or more sleepers because no one has to crawl over another person for a midnight exit. Dual doors also improve ventilation when the weather is mild.
Vestibules are covered areas outside the sleeping compartment, usually created by the rainfly. They are useful for boots, packs, wet jackets, and other gear you do not want inside. A backpacking tent with a generous vestibule can feel much more organized without adding a lot of interior floor space. For campground use, a screened porch or large awning area can provide a place to sit when bugs or light rain interrupt the evening.
Ventilation is not just about staying cool. It helps manage condensation from breathing, wet gear, and temperature changes. Look for mesh panels, high vents, and rainfly vents that can remain open during light rain. Condensation can still occur in humid weather, especially when a tent is fully closed up, so leave appropriate vents open and avoid touching wet tent walls with bedding.
Consider Setup Time and Campsite Conditions
A tent should be easy enough to pitch when you arrive late, tired, or in worsening weather. Color-coded poles, clip-based bodies, and simple rainfly attachments reduce frustration. Practice setting up any new tent at home before the first trip. You will learn where the stakes go, how the fly attaches, and whether you need extra guylines or a footprint.
Freestanding tents can be moved after setup, which is helpful when you discover a root or rock beneath the floor. Non-freestanding tents can save weight, but they depend on stakes and often trekking poles for structure. They are excellent for experienced backpackers who understand site selection and staking, but may be less convenient on hard-packed campground surfaces.
Bring stakes suited to the ground you expect. Standard stakes can struggle in sand, loose soil, or rocky terrain. Always use guylines in wind, even if the tent appears stable at first. A properly tensioned tent stays quieter, sheds rain better, and puts less stress on poles and fabric.
Set a Budget Around the Features That Matter
A higher price can reflect lighter materials, better weather resistance, stronger poles, or thoughtful details like multiple doors and larger vestibules. But the most expensive tent is not automatically the right purchase. A dependable three-season tent with the correct capacity and rain protection will serve many campers better than a specialized model they rarely need.
Spend where failure would affect the trip most: weather protection, floor durability, pole quality, and usable space. Save on features that do not fit your style, such as extreme ultralight construction for a tent that will only travel from your vehicle to a level campsite. Building a complete camp setup also means leaving room in the budget for a sleeping bag, sleeping pad, lighting, cooking gear, hydration, and emergency supplies.
NorthWest Trail Co makes it easier to compare shelter options alongside the equipment that supports them, whether you are packing light for a weekend hike or setting up a comfortable family campsite. Choose a tent that gives your group enough room, handles your normal weather, and is simple enough to use with confidence after a long day outside.
