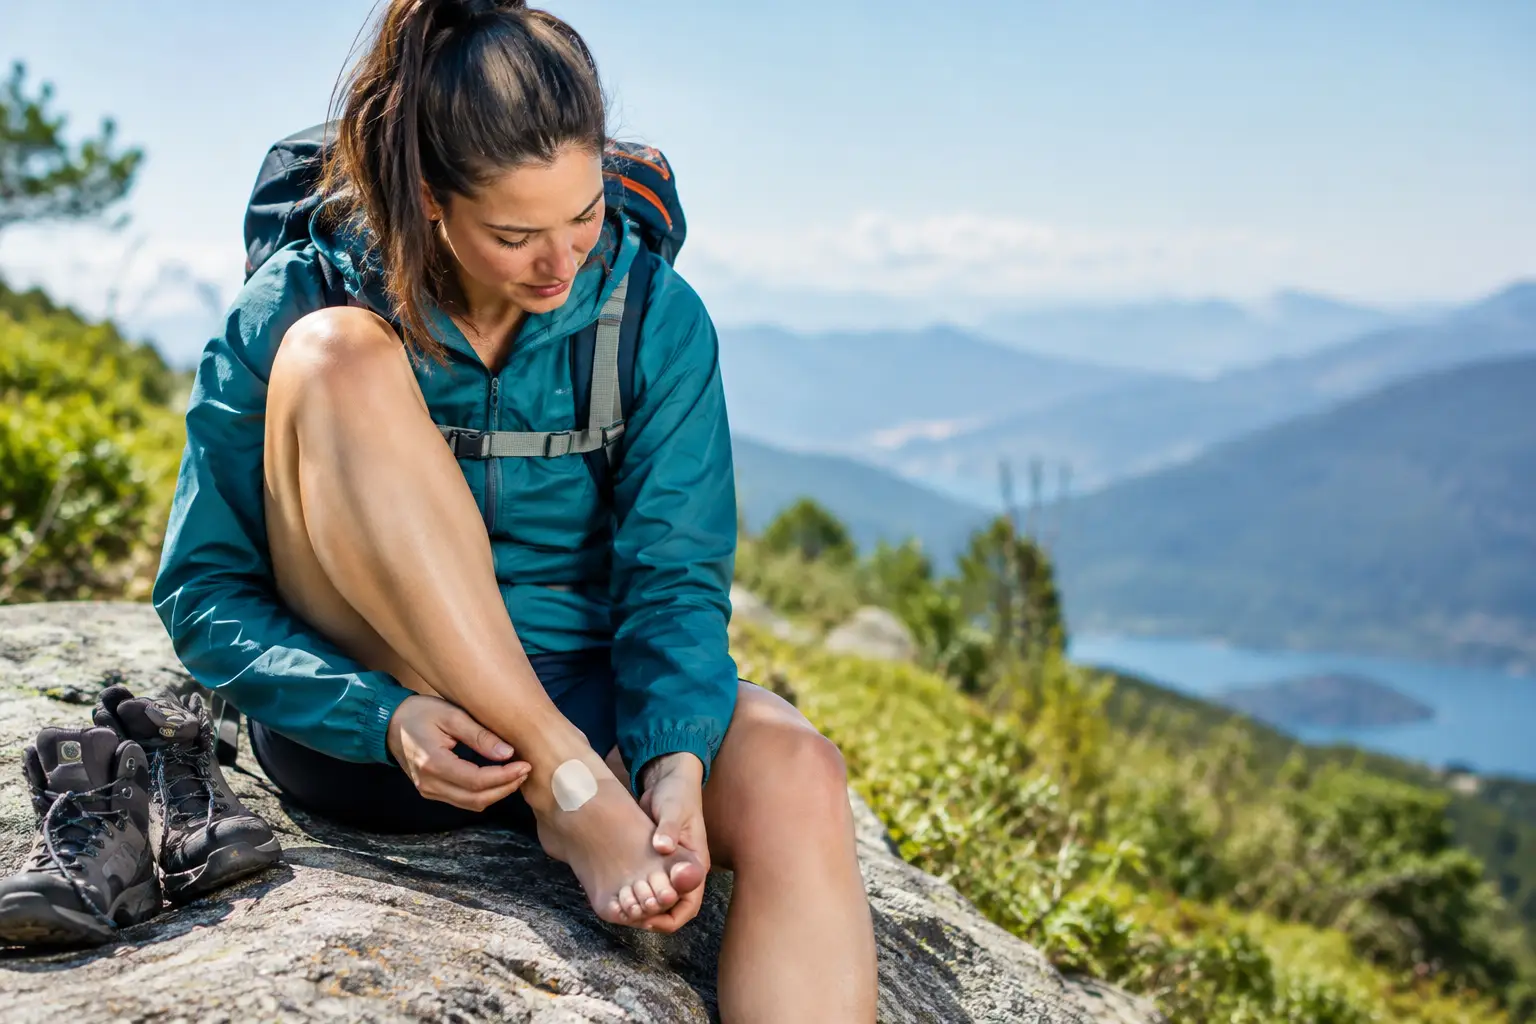
Hot spots to blisters. A hot spot can turn into a blister before the next trail marker. Ignore it because you are trying to keep pace, and every step adds friction, heat, and pressure until a small irritation becomes a painful problem. Knowing how to treat hiking blisters lets you protect your feet early, make a smart call about continuing, and avoid turning a good hike into a long limp back to camp.
Stop and Treat the Hot Spot First
A hot spot is the warning stage: a focused area of warmth, tenderness, redness, or rubbing that may not have raised a bubble yet. This is the easiest time to act. Stop walking as soon as you notice it, remove your boot and sock, and find the cause. A wrinkled sock, damp fabric, grit inside the shoe, a loose heel, or a boot that is too tight across the toes can all create friction.
Dry the area and apply a barrier before putting your sock back on. Leukotape-style athletic tape, moleskin, or a blister-specific dressing can reduce rubbing, but it needs to lie flat. If the skin is already tender, cut a donut-shaped piece of moleskin so the sore spot sits in the open center rather than directly under adhesive and pressure.
Do not cover a hot spot and keep hiking in the same wet sock or poorly fitted boot. Change into a clean, dry pair if you have one, shake out debris, and adjust your laces. Often, a small lace adjustment that secures the heel or relieves forefoot pressure solves the real problem.
How to Treat Hiking Blisters That Are Still Intact
If a fluid-filled blister has formed but the skin roof is unbroken, leave it intact whenever possible. That outer layer is your body’s natural cover, protecting the tender skin beneath from dirt and continued friction. Popping it may offer temporary relief from pressure, but it increases the chance of infection and makes trail care more demanding.
Clean the surrounding skin with soap and clean water if available, then dry it carefully. Cover the blister with a hydrocolloid blister bandage or a cushioned dressing designed to stay in place. Hydrocolloid dressings absorb fluid and create a protective environment, though they can loosen when feet sweat heavily or when a crossing soaks your boots. Carry backups.
For a larger blister, reduce pressure around it. Build a moleskin or foam donut with a center opening slightly larger than the blister. Secure it around, not on top of, the blister, then add a smooth outer layer of tape if needed. The goal is to keep the blister from taking the full force of each step.
Check your footwear before continuing. If the blister formed on your heel, heel lift may be the issue. If it is under the ball of your foot, worn insoles, thin socks, or a long descent may be contributing. Blisters on the sides of toes often point to a cramped toe box or damp socks that are bunching between toes.
When a Blister Has Popped or Torn
An open blister needs clean, practical protection. Wash your hands first, then rinse the area with clean water and mild soap. Remove loose dirt, but do not scrub the raw skin. Pat it dry with clean gauze or a clean cloth.
If the skin flap is still attached and reasonably clean, leave it in place. It can continue to protect the exposed area. If it is completely torn away, hanging by a thread, or contaminated and cannot be cleaned, carefully trim only the dead loose skin with cleaned scissors or small first-aid shears. Do not pull skin away with your fingers.
Apply a nonstick sterile pad or a blister dressing, then cushion the surrounding area to limit rubbing. Change the dressing at least daily, or sooner if it becomes wet, dirty, or loose. A thin layer of antibiotic ointment may be appropriate for some people, but it is not a substitute for cleaning and a proper dressing. If you have a known sensitivity to topical antibiotics, skip it and use a clean nonstick cover instead.
On a multiday trip, the hard part is keeping the wound clean and dry while still moving. Take off boots during breaks, air out your feet, and switch socks. If weather allows, dry damp footwear near moving air rather than pressing it against high heat, which can damage adhesives, leather, and some synthetic materials.
Should You Drain a Hiking Blister?
For most day hikes, an intact blister is best left alone and padded. Draining may be worth considering when a large, painful blister makes walking nearly impossible and you have the supplies and ability to keep it clean afterward. It is a trade-off, not a default move.
If you decide to drain it, wash your hands and the skin, use a sterile single-use needle if available, and make a small opening near the blister’s edge. Gently press the fluid out while keeping the skin roof in place. Cover it with a sterile dressing and pressure-relieving padding. Do not drain a blister that looks infected, and do not use a dirty pin, knife, or improvised sharp object from the bottom of a pack.
People with diabetes, poor circulation, immune suppression, or reduced sensation in their feet should be especially cautious. A foot wound that seems minor can become serious faster in these situations. Seek medical guidance rather than trying to manage a significant blister in the field.
Know When to Stop Hiking and Get Care
A blister does not always mean the trip is over, but worsening pain can change your footing and raise the risk of a fall. Slow down, shorten the route, or head back if you cannot walk normally after padding and footwear adjustments. On rocky terrain, a limp is more than an inconvenience.
Watch for spreading redness, increasing warmth or swelling, pus, red streaks, fever, or pain that keeps getting worse. These can be signs of infection and need prompt medical care. Seek care as well for deep wounds, persistent numbness, blisters caused by burns or frostbite, or any concerning foot injury when you have diabetes or circulation problems.
Build a Blister-Ready Foot Care Kit
A small kit takes little room in a daypack and can save a hike. Pack hydrocolloid blister bandages, moleskin or foam, strong skin-safe tape, nonstick sterile pads, a small roll of gauze, antiseptic wipes, hand sanitizer, and compact scissors or first-aid shears. Add two pairs of moisture-wicking socks on longer hikes, especially if rain, stream crossings, or hot weather are likely.
Gear matters, but fit matters more. Choose hiking socks that stay put and match the conditions. Merino wool blends manage moisture well in varied weather, while synthetic blends dry quickly. Some hikers like thin liner socks under a thicker outer sock because the layers move against each other rather than against the skin. Others find that combination too warm or tight. Test your setup on shorter hikes before relying on it for a long backpacking trip.
Boots or trail shoes need enough room for natural foot swelling, especially on warm days and descents. Your heel should stay secure, but your toes should not strike the front of the shoe. Break in new footwear gradually, and replace flattened insoles or worn-out shoes before a major trip.
The best blister treatment is attention at the first hint of rubbing. Stop early, dry your feet, fix the cause, and protect the skin before one sore spot decides the rest of your route.
