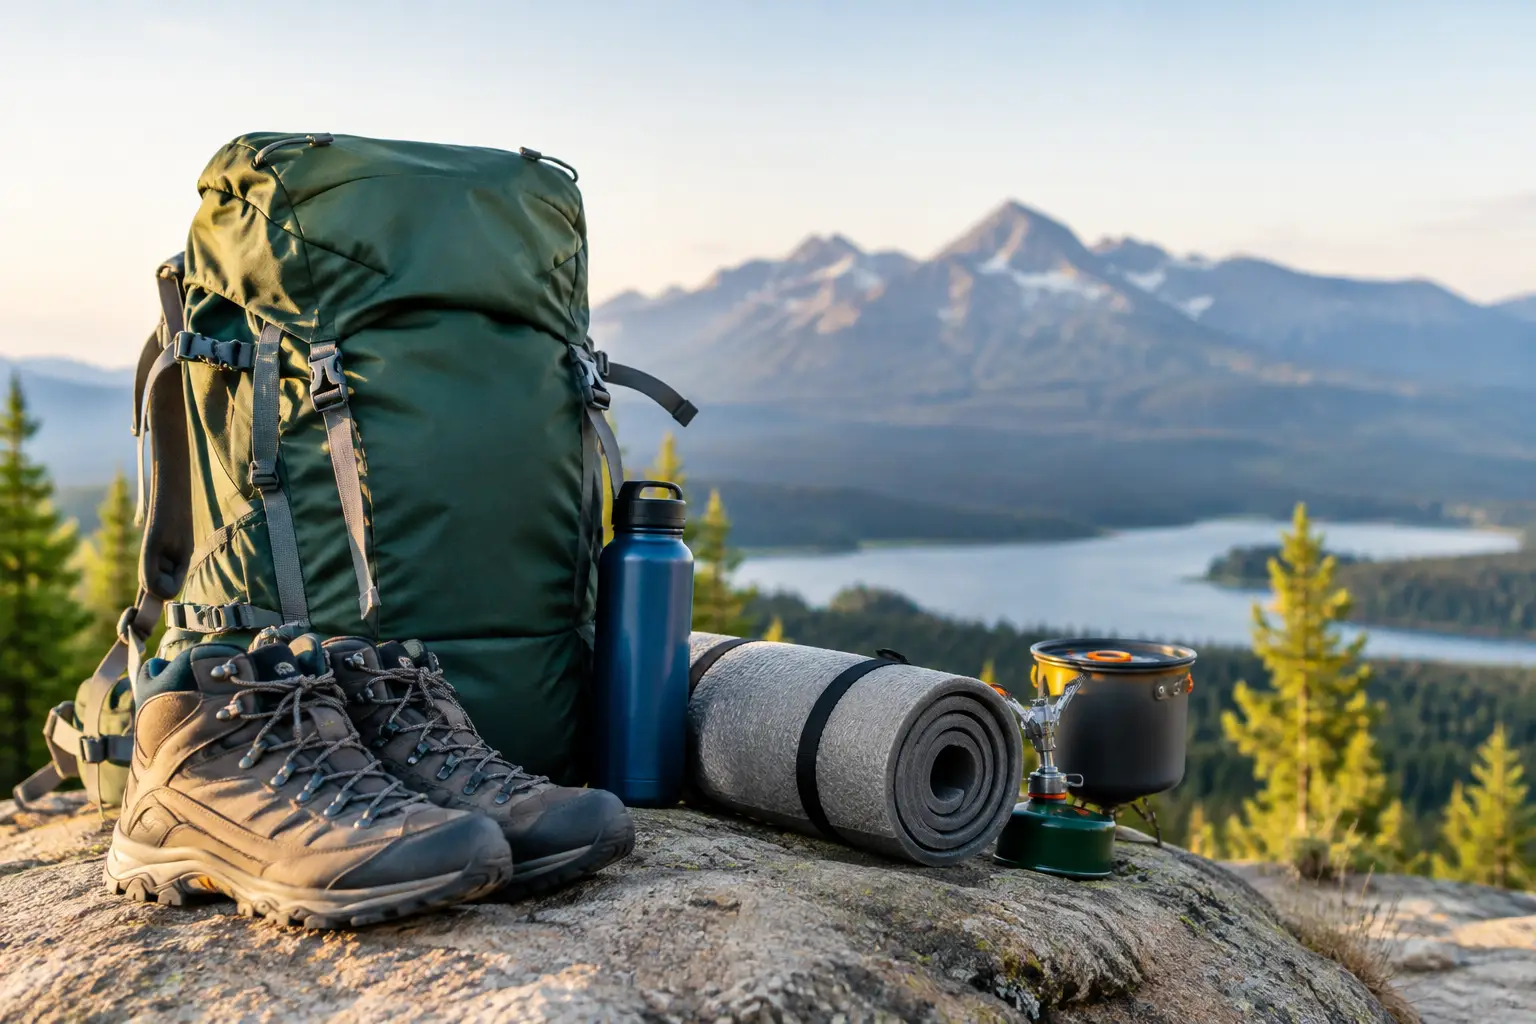
Your first overnight backpacking trips get harder fast when every item is either too heavy, hard to use, or missing when you need it. This beginner backpacking gear guide focuses on the equipment that earns space in your pack, along with the trade-offs that matter before you leave the trailhead.
A beginner does not need the lightest setup or the most expensive setup. You need gear that fits, keeps you dry and warm enough for the forecast, holds enough water, and gives you a dependable plan if conditions change. Start with a short route, a confirmed water source, and one or two nights close enough to exit if needed.
Start With the Trip, Not the Shopping Cart
Gear choices depend on where and when you are going. A summer overnight in a dry state park calls for a different loadout than a wet spring trip in the Pacific Northwest or a high-elevation hike with chilly nights.
Before choosing equipment, check the expected low temperature, precipitation, wind, trail distance, elevation gain, campsite rules, water availability, and fire restrictions. Those details determine your shelter rating, sleeping bag temperature rating, water-carrying capacity, clothing layers, and food-storage method.
For a first trip, avoid building a gear list around “just in case” items. Carrying an extra luxury item is fine when it has a clear payoff, but several small extras become pounds quickly. The goal is not discomfort. It is taking equipment that solves a real field problem.
Beginner Backpacking Gear Guide: Build Around the Big Three
Your backpack, shelter, and sleep system usually take up the most space and account for the largest share of your base weight. Buy or borrow these items with care.
Choose a backpack that fits your body
Most beginners do well with a 45- to 60-liter pack for a one- to three-night trip. That range usually has room for a tent, sleeping bag, pad, clothing, food, water, and core safety gear without encouraging you to bring a full car-camping setup.
Fit matters more than extra pockets. Measure your torso length, adjust the shoulder straps and hip belt, and load the pack before deciding it is comfortable. A properly positioned hip belt should transfer most of the weight to your hips instead of pulling down on your shoulders. If you expect to carry more water, cold-weather insulation, or shared gear, lean toward the larger end of the range.
Pick shelter for forecast conditions
A lightweight one- or two-person backpacking tent is the simplest shelter for most first-time backpackers. A two-person tent gives one hiker more room for gear and is often easier to wait out rain in, but it weighs more than a one-person model. If two people share it, divide the tent body, poles, stakes, and rainfly between packs.
Look for a complete rainfly, sturdy stakes, and a footprint or groundsheet sized for the tent. Practice pitching it at home before the trip. If rain is expected, choose a campsite with drainage in mind. A good tent can still feel miserable if it is placed in a low spot where water collects.
Build a sleep system, not just a sleeping bag
Your sleeping bag and sleeping pad work together. The bag traps warm air around your body, while the pad reduces heat loss to the ground. A warm bag paired with a low-insulation pad can still leave you cold.
Choose a bag rated for temperatures slightly below the forecast overnight low, especially if you sleep cold. A 20-degree bag may be useful for shoulder-season trips, while a 30- or 40-degree option can work for mild summer conditions. Check whether the listed temperature is a comfort rating or a lower-limit rating.
For the pad, prioritize an appropriate R-value, which measures insulation. A basic foam pad is durable, affordable, and difficult to puncture. An inflatable insulated pad packs smaller and can be more comfortable, but it needs more care and a repair kit. Bring a small pillow or use a jacket inside a stuff sack if sleeping well is worth a few extra ounces.
Carry Water and Know How You Will Treat It
Water planning is one of the most practical skills in backpacking. Do not assume every blue line on a map will be flowing, especially late in summer. Check current trail reports when available and ask local land managers about reliable sources.
Carry enough capacity for the longest dry section of your route. For many hikes, that means two to three liters of capacity per person, but desert routes, hot weather, and high-output days can require more. A mix of bottles and a collapsible reservoir makes it easier to adjust your carry.
Bring a primary treatment method, such as a squeeze filter, pump filter, chemical treatment, or purifier, and understand its limits. Filters remove many common waterborne organisms but may not address every contaminant. Chemical options are lightweight and useful as a backup, though they can take time to work and may affect taste. Treat water from natural sources unless you know it is safe.
Keep Food Simple and Cooking Reliable
For a first overnight, choose meals that are familiar, calorie-dense, and easy to prepare. Freeze-dried meals are convenient, but they are not your only option. Instant oatmeal, tortillas, nut butter, tuna packets, dried fruit, trail mix, jerky, ramen, couscous, and cheese can cover a lot of ground with minimal preparation.
A compact canister stove, fuel canister, lighter, and small pot are a dependable beginner cooking setup. Confirm that fuel canisters are permitted and practical for your destination. In areas with fire restrictions, a stove may still be allowed, but rules vary. Bring a backup ignition source and test the stove before packing it.
Plan food storage before you arrive. Some areas require a bear-resistant canister; others allow an approved bear bag system. This is not optional camp housekeeping. Proper storage protects wildlife, other campers, and your food.
Wear Layers Instead of Packing Outfits
Backpacking clothing should manage sweat, wind, rain, and changing temperatures. Avoid cotton for hiking and sleeping layers because it dries slowly and loses insulation when wet.
Start with a moisture-wicking shirt and underwear, hiking socks, and trail pants or shorts suited to the forecast. Add an insulating layer, such as fleece or a lightweight insulated jacket, plus a waterproof-breathable rain jacket. A warm hat can make a major difference at camp for almost no pack space.
Bring one dry set of sleep clothes when conditions are wet or cool. You do not need a fresh outfit for every day. A few intentional layers are lighter and more useful than a stack of casual clothes.
Footwear is personal. Trail runners dry quickly and feel lighter, while hiking boots can offer more support and weather protection. Neither is automatically better. Wear whichever option you have already tested on longer walks with a loaded pack, and bring blister treatment before you need it.
Navigation, Light, and First Aid Belong in Every Pack
Your phone can be useful for offline maps, but it should not be your only navigation tool. Carry a paper map of the route and know how to read it. A compass is small, reliable, and worth learning before the trip. If you use an electronic GPS device, satellite communicator, or phone navigation app, begin with fully charged batteries and a power plan.
A headlamp is better than a phone flashlight for setting up camp, cooking, or walking after dark. Pack spare batteries or a compatible battery bank. Bring an outdoor-based first-aid kit with blister care, bandages, gauze, tape, antiseptic supplies, pain relief medication you can safely take, a trauma pressure dressing, and any personal prescriptions.
Also carry a whistle, repair tape, a small multi-tool or knife, sun protection, insect protection, and an emergency shelter such as a lightweight bivy or blanket. On remote routes or solo trips, a satellite communicator adds a serious safety margin where cell service is unreliable.
Pack Smart Without Turning It Into a Puzzle
Place dense items, such as food and water, close to your back and near the middle of the pack. Keep rain gear, water treatment, snacks, map, headlamp, and first-aid supplies accessible. Use dry bags, contractor trash bags, or pack liners to protect the sleeping bag, clothing, and electronics from rain.
Before your trip, lay out every item and ask three questions: Will I use this? What problem does it solve? Is there another item already solving that problem? That process removes duplicate gear without cutting safety essentials.
A practical first-trip checklist should cover shelter, sleep, pack, water, food and cooking, clothing, navigation, lighting, first aid, hygiene, and emergency gear. NorthWest Trail Co makes it easier to compare those categories in one place, from compact packs and hydration gear to stoves, lighting, and weather protection.
Test Gear Before the Trail Tests You
Set up your tent in the yard. Inflate the pad and sleep on it for a night. Learn how to light the stove, operate the filter, adjust your pack, and use your map without relying on a video at camp. Small practice sessions expose missing parts, confusing instructions, and uncomfortable gear while you still have easy options.
Then take a local day hike with most of your planned load. Your shoulders, feet, and pacing will tell you more than product specifications alone. The right beginner setup is the one you understand, can carry comfortably, and trust when the weather turns or the trail runs longer than expected.
