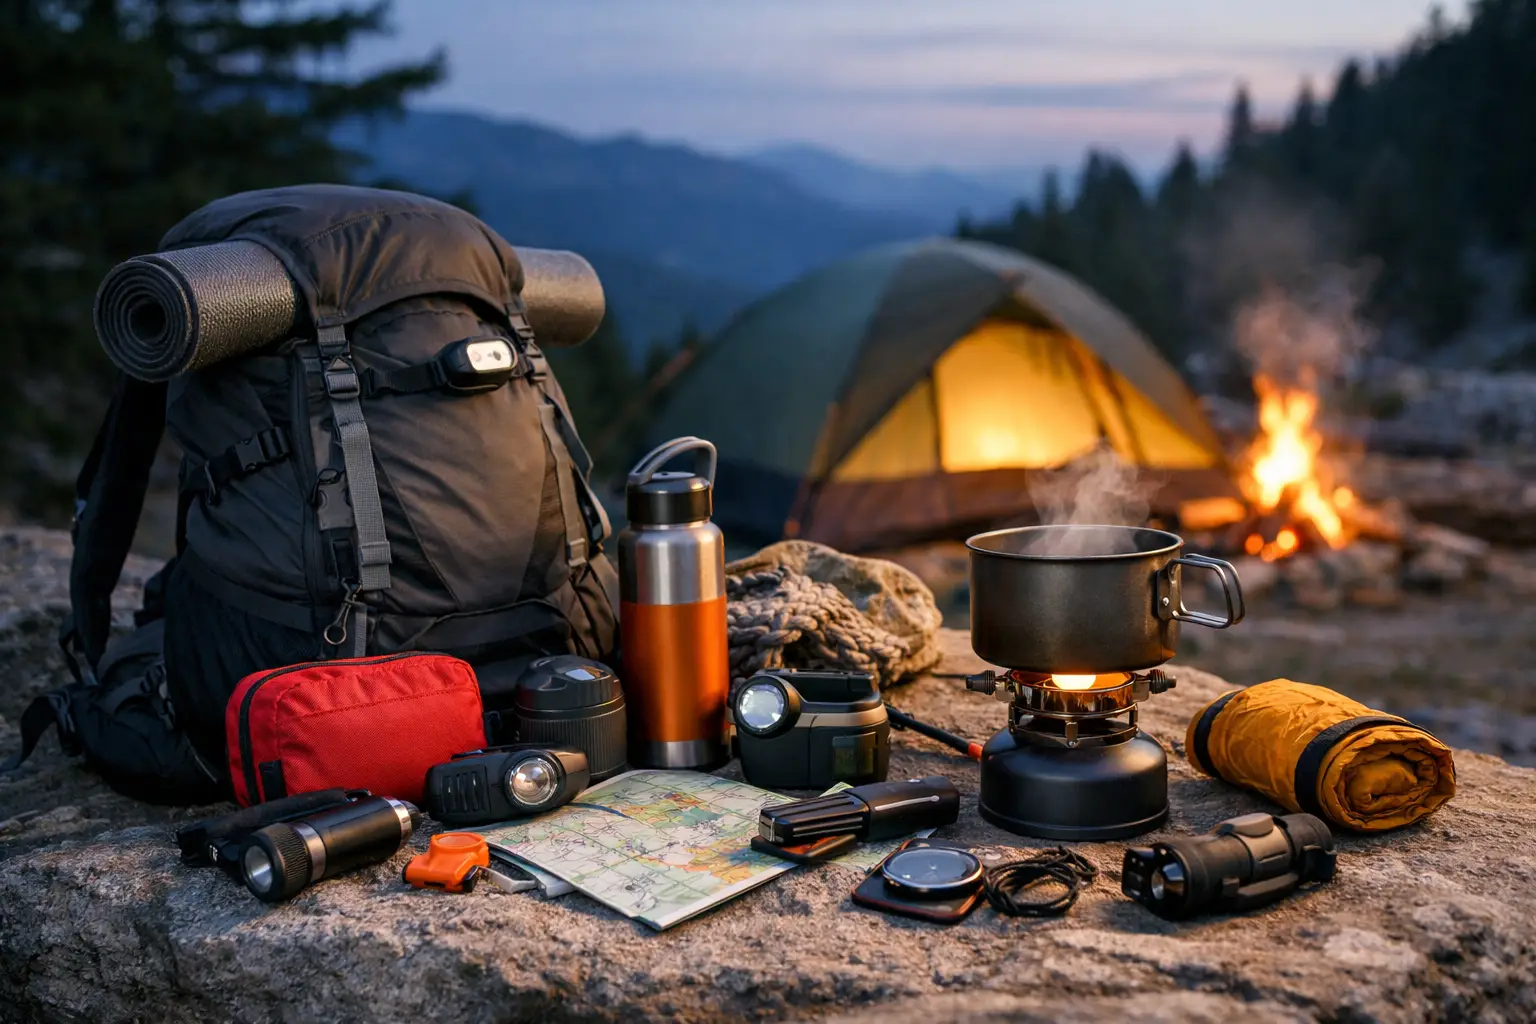
A missed lighter, an underfilled water bottle, or a sleeping bag rated for the wrong temperature can turn a simple overnight into a long night. This backpacking gear checklist covers the equipment that earns its place in your pack, whether you are heading out for your first one-night hike or planning several days beyond the trailhead.
The goal is not to carry every piece of gear you own. It is to build a system that keeps you dry, warm, hydrated, fed, oriented, and able to handle a change in plans. Your route, season, elevation, group size, and forecast should decide the final loadout.
Start With the Big Three
Your pack, shelter, and sleep system set the weight and comfort level of the entire trip. Choose these first, then fit the rest of your equipment around them.
Backpack
For a single overnight, many hikers can work with a 35- to 50-liter backpack. A 50- to 65-liter pack gives more room for cold-weather insulation, extra food, or shared gear. Multi-day trips may call for 60 liters or more, but more capacity can also invite unnecessary packing.
Fit matters as much as volume. Adjust the hip belt so it transfers most of the load to your hips, then tighten shoulder straps, load lifters, and the sternum strap. Pack heavier items close to your back and near the middle of the pack to improve balance on uneven ground.
Shelter
Bring a tent, tarp shelter, bivy, or hammock setup that matches the conditions and your experience. A freestanding backpacking tent is often the simplest option for newer hikers because it is quick to pitch and performs well in a range of campsites. Check the packed weight, person capacity, floor dimensions, and rainfly coverage before you go.
A footprint can protect the tent floor, although a correctly sized groundsheet works too. Include stakes and enough cord to secure the shelter in wind. If rain is possible, practice setting it up before the trip rather than learning with wet hands at camp.
Sleep System
Your sleeping bag or quilt needs a temperature rating suited to the expected overnight low, not the daytime forecast. For variable conditions, a bag rated 10 to 15 degrees below the forecast low provides useful margin. A sleeping pad is not only for cushioning. Its insulation value helps stop cold ground from pulling heat away from your body.
Pack dry sleep clothes, even on warm trips. A lightweight beanie and clean socks take up little space and can make a major difference when temperatures drop after sunset.
Backpacking Gear Checklist: Water, Food, and Cooking
Water management deserves more planning than most first-time backpackers expect. Streams and lakes may be seasonal, silty, frozen, or farther apart than a map suggests. Study reliable water sources before leaving and carry enough capacity to reach the next one.
Bring a water filter, purifier, or chemical treatment, plus a backup method when conditions are remote or uncertain. Two one-liter bottles are a straightforward setup for many hikes. Add a collapsible reservoir or extra bottle when water carries are longer, the weather is hot, or you are cooking for more than one person.
For food, prioritize calories, simple preparation, and foods you will actually want to eat after hiking. Plan meals by day and add an extra day of food for delays or an unexpected overnight. Keep snacks accessible in a hip-belt pocket or top lid so you can eat before your energy crashes.
A compact cook kit usually includes a stove, fuel, lighter, backup ignition source, pot, cup, utensil, and a way to clean up. Confirm that your stove and fuel canister are compatible. In fire-restricted areas, a stove may be your only hot-meal option, so check local regulations before relying on a campfire.
Do not forget food storage. Depending on the location, that may mean a bear-resistant canister, approved bear bag setup, or other required storage method. Store scented items with food, including toothpaste, lip balm, and trash.
Clothing That Works as a System
Backpacking clothing is about managing moisture and temperature, not packing a fresh outfit for every day. Avoid cotton when temperatures are cool or rain is likely because it holds moisture and dries slowly.
Start with moisture-wicking underwear, socks, and a base layer. Add an insulating layer such as fleece or a lightweight insulated jacket, then a rain shell that blocks wind and precipitation. Hiking pants or shorts should fit the forecast, brush exposure, and personal comfort. In shoulder seasons or at higher elevations, bring warm gloves and a hat even if the day begins mild.
Footwear depends on terrain and load. Trail runners can be comfortable and light for maintained routes, while hiking boots may offer more protection and support on rocky ground or under a heavier pack. Either way, break them in before the trip. Carry at least one spare pair of socks and treat hot spots early with tape or blister care supplies.
Navigation and Communication Are Non-Negotiable
A phone with offline maps is useful, but it should not be your only navigation tool. Batteries drain faster in cold weather, and service can disappear quickly in mountain valleys and dense forest.
Carry a paper map of the route and a compass, then know how to use both. A dedicated GPS unit can add confidence for off-trail travel or complicated junctions, but it also needs power and backup planning. Before departure, share your route, planned campsites, vehicle location, and return time with a reliable contact.
For trips outside reliable cell coverage, consider an emergency communication device. A satellite messenger or personal locator beacon can be a practical safety layer for solo hikers, remote routes, and trips where weather may delay travel. It does not replace good decisions, but it gives you a way to request help when a real emergency develops.
Safety, Repair, and Small Essentials
Small items are easy to overlook because they do not take up much space. They are also the items that solve problems when gear breaks, darkness comes early, or a minor injury needs attention.
Your core safety and utility kit should include:
- Headlamp with fresh batteries or a charged battery pack
- First-aid supplies sized for your group and trip length
- Multi-tool or knife, repair tape, cord, and a few zip ties
- Fire starter and waterproof matches or a second lighter
- Sun protection, insect repellent, and a small hygiene kit
- Whistle, emergency blanket, and personal medications
A headlamp is better than relying on a phone flashlight because it keeps both hands free for cooking, pitching a tent, or treating an injury. Bring a compact power bank if you depend on a phone for maps, photos, or emergency communication. Check battery capacity against the devices you will carry rather than assuming one small charger will cover several days.
Pack for the Route, Not Just the Forecast
A good checklist changes with the trip. A low-elevation overnight near dependable water requires less insulation and carrying capacity than an exposed alpine route in late fall. Desert hikers may need several liters of water capacity and sun protection. Wet forest trips demand dependable rain coverage, dry bags, and extra attention to keeping insulation protected.
Group trips also create opportunities to share equipment. One person may carry the tent body while another carries poles, stakes, or a cook kit. That can reduce individual weight, but every shared item needs a clear owner. Do not assume someone else packed the filter, stove fuel, or map.
Before leaving, lay out every item, check your forecast again, and do a final weight test with a fully loaded pack. Remove duplicates that do not serve a clear purpose, but do not cut essentials simply to chase a lighter base weight. NorthWest Trail Co is made for the trail life, and the right setup is the one that fits your route, skill level, and margin for changing conditions.
The best time to find a missing item is on your living room floor, not after sunset at camp. Pack with purpose, keep critical gear easy to reach, and give yourself enough room to adapt when the trail does not go exactly as planned.
